How to Photograph Machined Parts: Buyer’s Photo Checklist
Plan machined-part photos for buyer approval and product listings. Includes a shot checklist, a two-variant example and an image-request template for your machining RFQ.
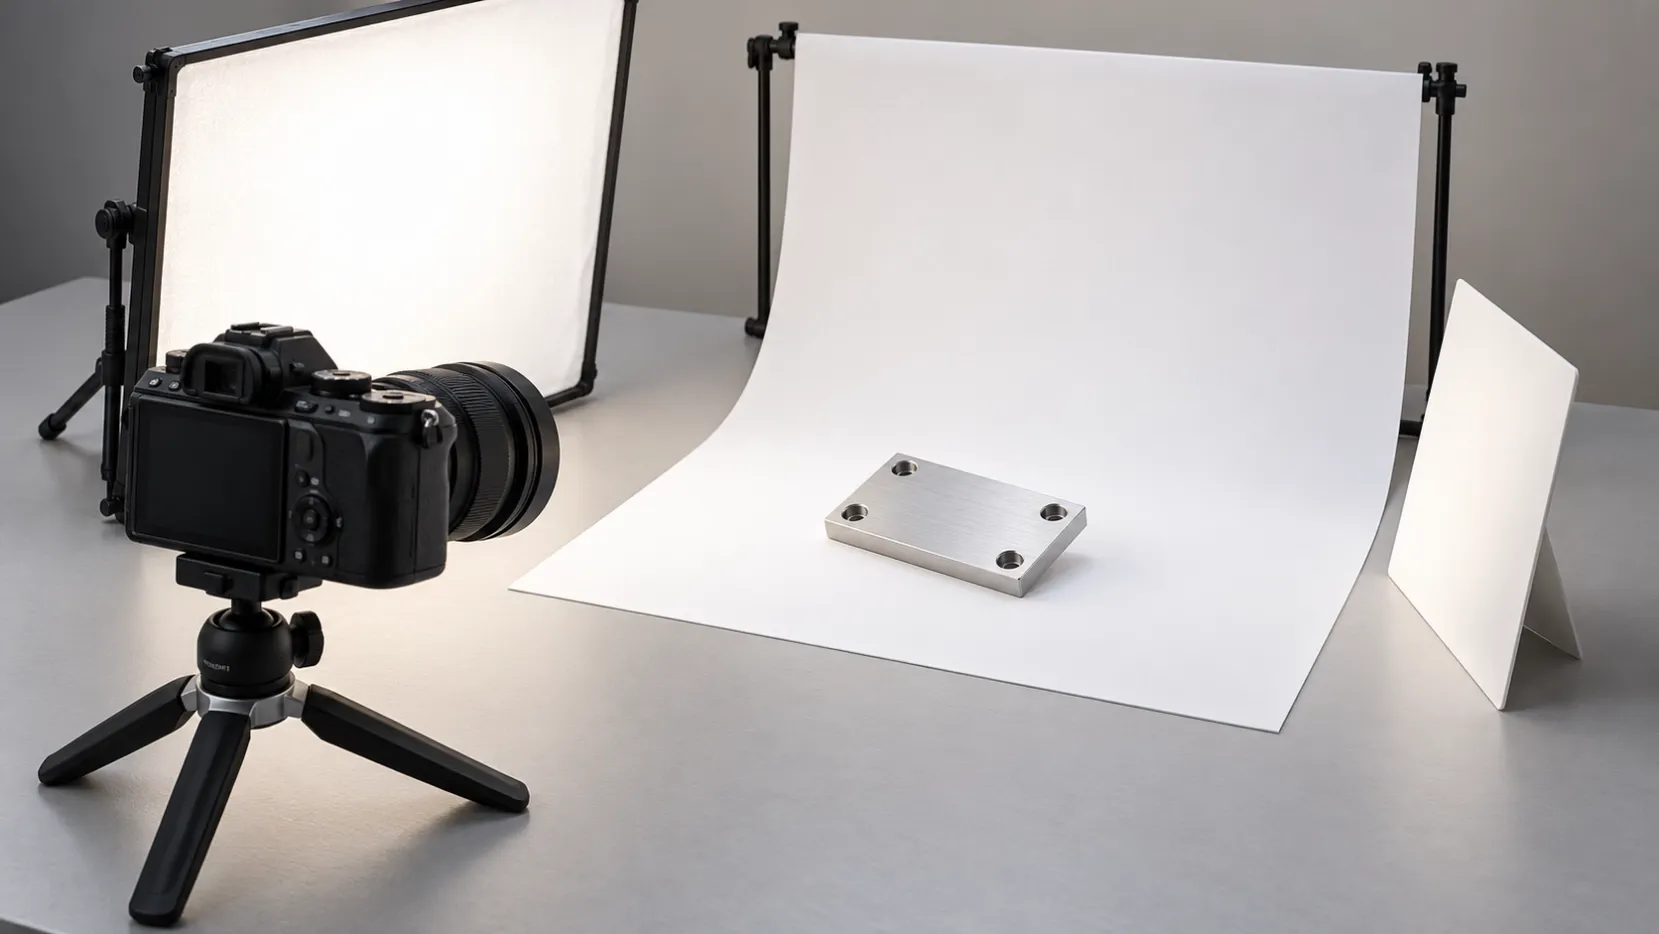
When you photograph machined parts for product listings, each image should answer a purchasing question: which version is this, what features are visible, what is included and what still needs confirmation before ordering?
This matters when you buy custom components for resale, build a distributor catalogue or obtain approval from an end customer. A polished hero image can attract attention, but it cannot replace the correct part identification, approved specification or inspection evidence.
YSBK Parts manufactures components from approved drawings and CAD files. If photographs are needed with a machining order, ask which views, timing, permitted use and charges can be agreed. Commercial photography and a complete listing-image package should not be assumed to be included.
Start with the questions your customer needs answered
Experienced distributors and wholesalers need images linked to the correct part number, drawing revision and supplied condition. Consistency across a product range helps compare variants; an old sample photograph can create confusion on a repeat order.
Trading companies need a clear record they can pass to the end customer. Confirm whether the photograph shows a prototype or the final order condition, whether publication is permitted and whether customer identifiers must be removed from the published copy.
Online sellers and physical-store owners need to distinguish the item, its interfaces and the supplied contents. Show optional accessories separately. Confirm compatibility through approved technical information rather than similar appearance.
First-time buyers can begin with a short checklist: identify the part, show the opposite face, reveal the mounting or connection features and record anything that differs from the version being ordered. Ask your engineer or customer which interfaces must be confirmed in writing.
Build a shot list around buying decisions
The following views are a planning checklist, not a fixed image count or a guarantee that all buyer questions will be answered.
Suggested view | Question it helps answer | Information still needed separately |
|---|---|---|
Overall three-quarter view | What is the complete shape? | Part number and approved specification |
Opposite face or underside | What is hidden in the main view? | Drawing details for concealed features |
Mounting or connection face | Where does this part attach? | Dimensions, threads and compatibility requirements |
Relevant feature close-up | What does this edge, recess or surface look like? | Measured tolerances and inspection results |
Separate variant view | Which version am I selecting? | Confirmed variant identification |
Supplied-contents view | What arrives in the order? | Written unit and accessory list |
Use a scale-reference view when it helps explain approximate size. Place confirmed dimensions in readable page text or an approved drawing as well. Perspective photographs and an ordinary ruler view are not reliable dimensional acceptance records.
A scale object does not need to appear in every frame. Keep the main image clear and use supplementary views for context, subject to the destination platform's requirements.
Example: two mounting-plate versions need separate image records
Illustrative planning example only. These are invented specifications, not a YSBK customer case, an actual photographed order or a validated design.
Assume two approved drawings specify plates measuring 120 × 80 × 10 mm. Version A has four M6 × 1 threaded mounting holes; Version B has six. The material and finish must come from the approved specification, not be inferred from the photographs.
If you plan four initial views per version, the starting image set contains 2 versions × 4 views = 8 files. For each version, choose an overall view, opposite-face view, side profile and mounting-face view. Add close-ups or supplied-contents photographs where the purchasing questions require them.
Keep the records separate even when both plates have the same outside dimensions. A face-on view can help distinguish the hole arrangement, but it does not establish the thread size or class.
For example, an internal filename could be A_rev-b_mounting-face.jpg. The file record should identify the photographed sample and its condition. If Version A changes revision, review every affected image before reusing the set.
For the buyer, this is more useful than eight unrelated angles of whichever sample happened to be on the bench.
Control reflections so the features remain visible
Start with a stable camera or phone, a clean neutral background and broad, controlled light. Check the view from the camera position: reflective metal can show the room, equipment and nearby objects.
Move the light, reflector, camera or component in small steps until the edges and relevant recesses remain readable. A diffuser or white reflection surface can help soften distracting reflections. The Society of Photographers' reflective-object guidance explains this principle.
There is no universal rule that every component needs exactly one light or must always be lit from the same side. Aim for a consistent appearance across the listing while allowing each shape to be shown clearly.
For dark components, preserve edge and surface detail without making the finish look lighter than the actual sample. Check both shadow detail and bright highlights rather than applying a blanket instruction to overexpose.
Keep the important features in focus
Select a view that shows the feature the buyer needs to see. Avoid a dramatic shallow-focus image when the mounting face or rear interface becomes unreadable.
Keep the camera stable and inspect the original at a useful viewing size. Digital zoom or enlarging a small file cannot recover missing detail. If a close-up is necessary, capture a suitable source image rather than cropping aggressively from a distant overall view.
A close-up may reveal machining marks, a damaged edge or a visible surface difference. It does not prove dimensional precision, material grade or measured surface roughness. Supply the agreed inspection information separately.
Prepare the sample and edit without changing its meaning
Remove unrelated background clutter and prepare the sample using a method compatible with its finish. Do not polish, coat or otherwise alter a part just to make it look like a different supplied condition.
Cropping, exposure adjustment and background cleanup should preserve geometry, feature count, visible condition and finish appearance. Do not erase defects or add holes, threads, accessories or markings that are absent from the photographed item.
When a listing uses a prototype image, explain any relevant difference from the final version. Replace the image when it would otherwise misrepresent the item being offered.
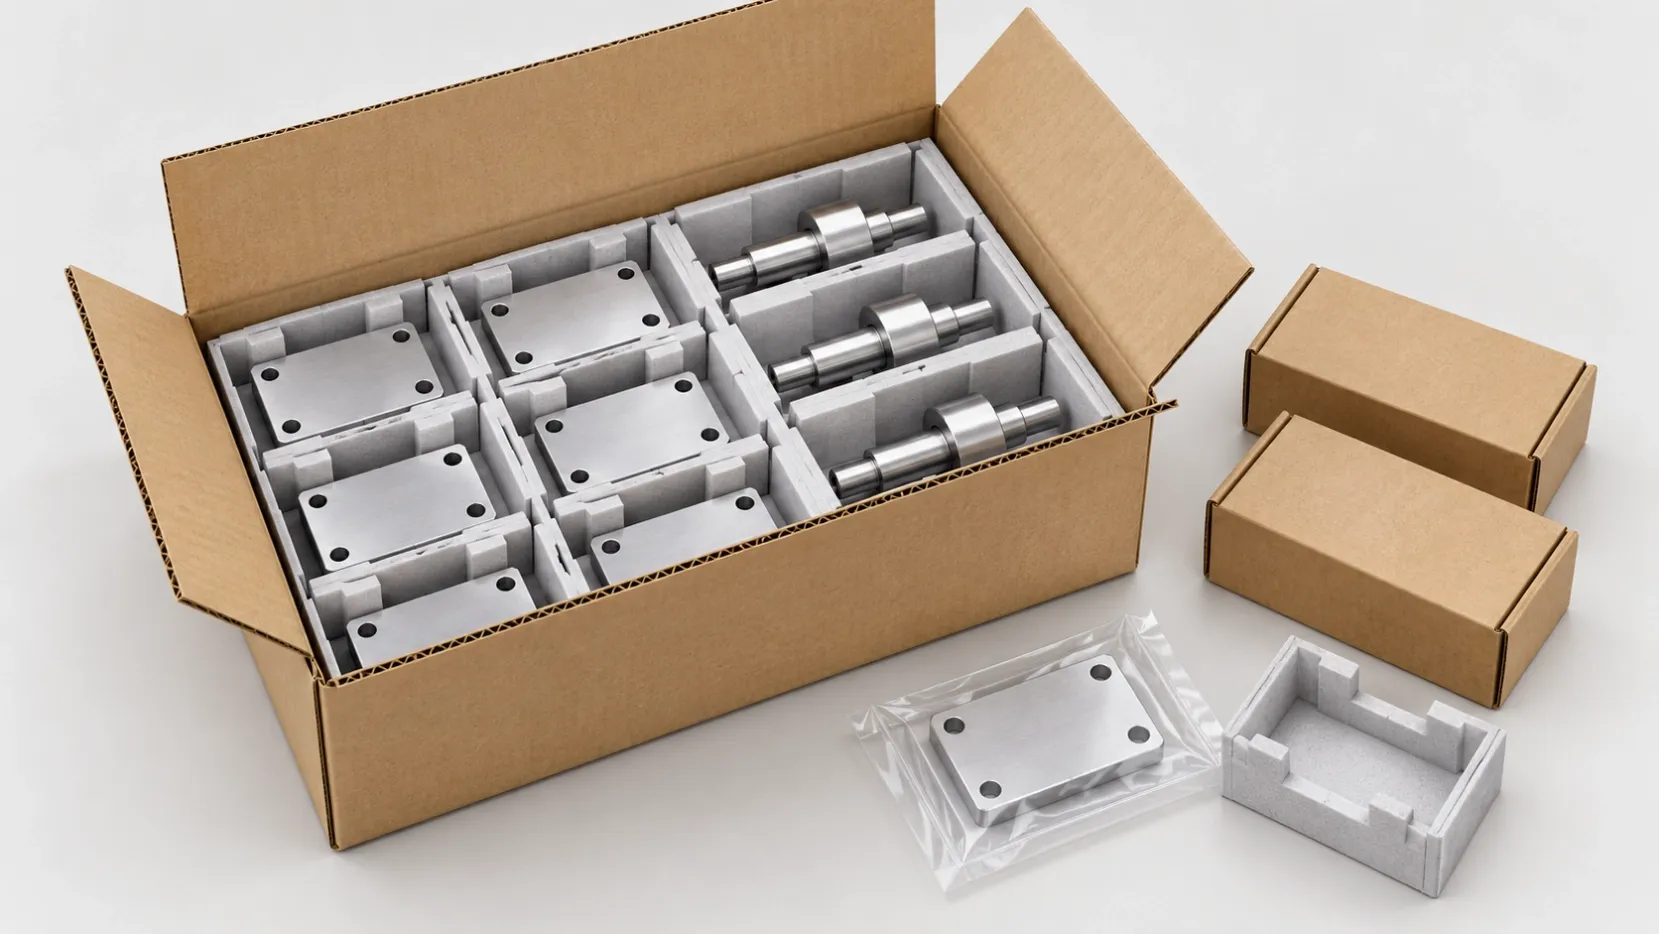
Renderings and AI illustrations can explain a concept or a proposed setup when clearly labelled. They should not be presented as photographs of a manufactured sample. The cover of this guide is an illustrative photography setup, not a photograph of YSBK equipment or a customer order.
Export images for the place they will be displayed
Keep the original high-resolution files and make separate web exports. Check the actual image container before choosing a crop: a square catalogue image and a wide article cover need different framing.
For example, an image displayed at 960 pixels wide would need about 1,920 source pixels across for a two-device-pixel-per-CSS-pixel presentation. This is an illustrative sizing calculation, not a universal platform requirement. Responsive delivery, source quality and file compression also affect the result.
For a 16:9 article cover, compose a landscape image with the important objects away from the edges. Do not stretch a square photograph into a wide image or depend on automatic cropping to preserve every feature.
Check the exported image on the live page. Look for cut-off edges, softened small details, excessive blank margins and text that becomes unreadable. Choose a sensible file size without degrading the product information customers need.
Give images useful names, alt text and context
Use a media name that identifies the subject or view. Write concise alt text describing the visible content in the context of the page. Use a caption or description for relevant context such as sample condition or illustrative status.
Google's image SEO guidance recommends descriptive image information and relevant surrounding content, while warning against keyword stuffing. Adding supplier keywords to every image is not a substitute for showing and explaining the right part.
A photograph cannot establish 6061-T6, a tolerance value or an inspection result by appearance alone. Publish confirmed specifications as text with their appropriate source. Do not insert those claims into alt text merely because they are search terms.
For marketplace or product-feed use, check the current requirements for that destination. A clean main product image, a dimension graphic and an explanatory article illustration serve different purposes.
Agree on the image handover before placing the order
Ask how the photographs will be linked to part numbers and revisions, what condition the sample will be in, which views are available and when they can be taken. Confirm file format, usable resolution and any requested background or crop.
Also confirm permitted publication, confidentiality restrictions and responsibility for final approval. Images suitable for a private manufacturing discussion may expose customer drawings, order details or confidential identifiers if published unchanged.
A practical supplier response lists what can be provided, what remains open and any additional cost or timing effect. It should not treat a quick progress snapshot as a complete sales-image package.
You can adapt this request:
“Please quote the parts to the attached approved drawings and revisions. We also need images for [customer approval / catalogue / product listing]. Please confirm available views, sample condition, part and revision identification, file format and resolution, timing, charges and permitted use. Separate actual sample photographs from illustrations, and identify any difference between the photographed sample and the final order specification.”
Questions buyers ask before ordering
Can I identify a replacement part from a photograph alone?
A photograph can support discussion, but appearance alone cannot establish interfaces or compatibility. Obtain the approved technical information needed for manufacture and application approval.
Does every part need the same number of photographs?
No. Use enough relevant views to address the buyer's questions. A simple spacer and a housing with features on several faces need different image plans.
Can photographs replace an inspection report?
No. Photographs show visible features under particular lighting and viewing conditions. Specify the measurements, methods and records required for acceptance separately.
What should a first-time buyer send with an image request?
Provide approved drawings and CAD files, quantity, finish, intended image use and a list of required views. Ask the supplier to confirm what can be provided with the machining quotation.
Turn the photo plan into a clearer machining enquiry
If you need an initial manufactured sample, explore prototype CNC machining. For repeat production to an approved design, see low-volume CNC machining.
Send your machining enquiry with the photo checklist. Include the approved drawings, quantity and finish requirements, then request separate confirmation of any sample photographs or listing-image needs. The manufacturing specification remains the basis for the quote.