Manufacturing Process Guides
The Master Model in Vacuum Casting: How Your 3D Print Becomes the Mold
The master model decides your vacuum cast part: SLA versus CNC masters, surface finishing, shrinkage and scaling, and the geometry review that decides mold life before the pour.
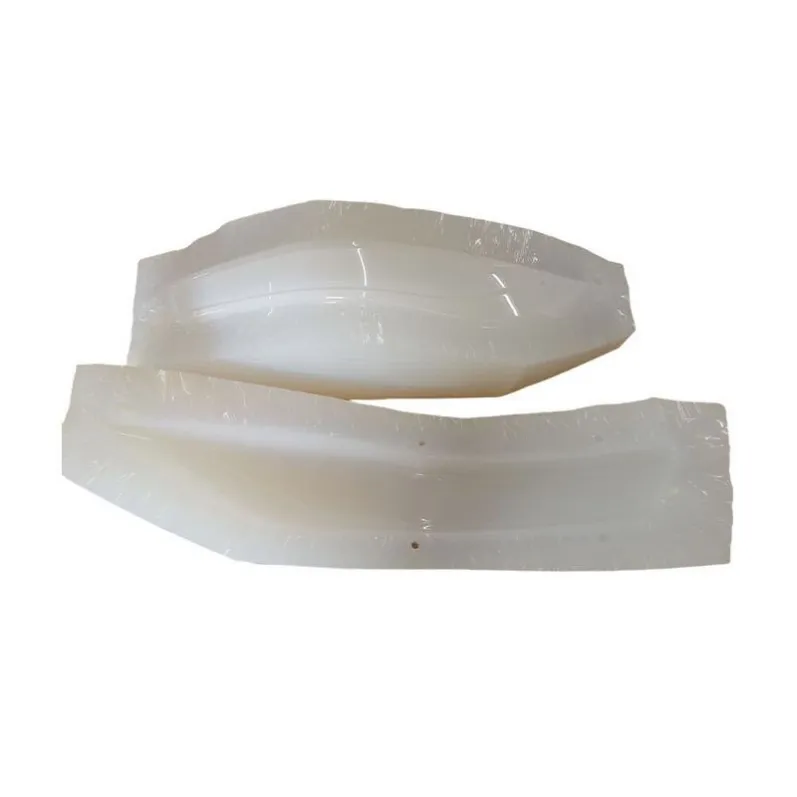
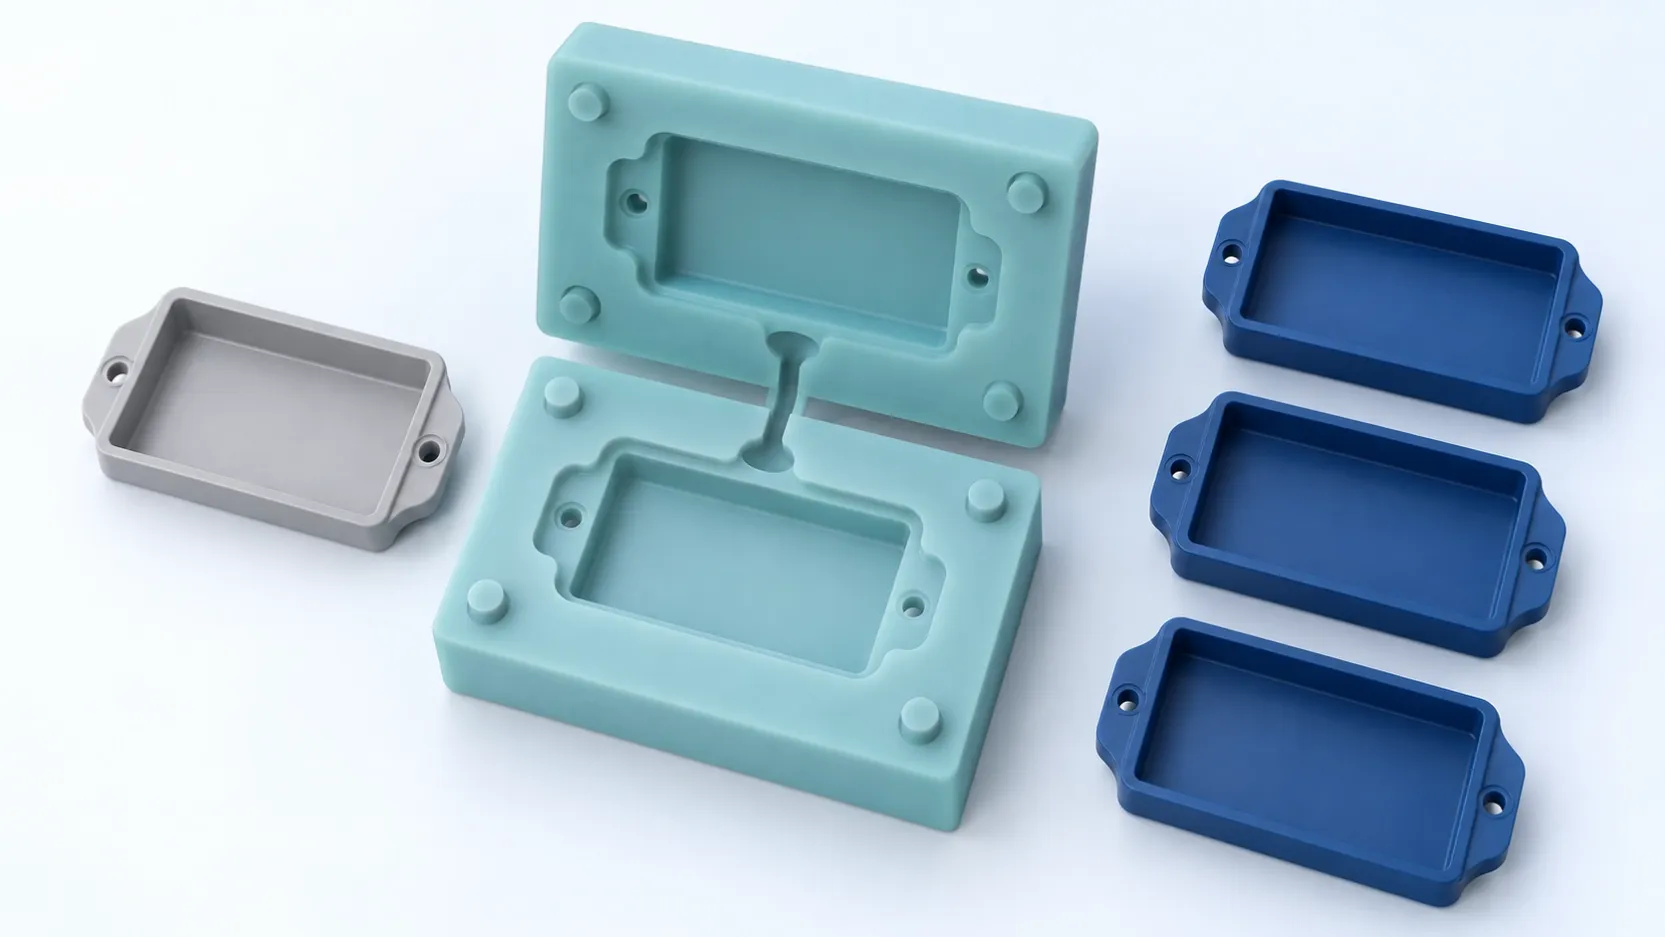
In vacuum casting, the part you receive is a copy of the master model — the surface you finish on the master is the surface that ships. This guide is for teams preparing the master model for a silicone mold: what it can be made of, what to finish before it goes to casting, and how its geometry quietly decides mold life. It is not the process comparison — 3D printing versus vacuum casting and vacuum casting versus CNC settle the routing first. What you take away is a master model review: material, finish, geometry and scale, checked before the silicone is poured.
Why masters arrive unready
- The print is used straight off the build plate — and every layer line becomes a molded feature on thirty parts.
- Support-mark surfaces are left facing the cosmetic side, and each casting reproduces the scars.
- The master is scaled without deciding why, so the cast batch lands off the drawing by a consistent, undiscovered amount.
- Sharp internal details are expected to survive both mold cutting and dozens of casts.
- Two masters for one mold — a revised part dropped into the old silicone — and the batch mixes two versions.
- The finish conversation happens after casting, when the surface was already decided at the master.
- The decision this guide owns: treat the master as the product's first article — reviewed, finished and frozen before the mold is poured.
What the master can be made of
Two materials dominate, and the choice is a trade between surface and speed. SLA-printed masters are the default: the resin process produces smooth, near-injection-quality surfaces that finish quickly, and geometry updates mean reprinting, not reprogramming — the reason most casting services, including ours, list 3D printed masters as the standard route. CNC-machined masters (usually aluminum or engineering board) cost more and take longer, but deliver the flattest faces, crisp edges and dimensional authority on features that will later be checked against the drawing. Hybrid is common and sensible: SLA body with machined or hand-fitted critical features — the finish lives where the customer looks, the accuracy lives where the fit lives. The printing-versus-machining signals apply to the master too, just at a smaller scale.
Finish the master, finish the product
The mold copies, it does not improve. Priming and light sanding on the master's cosmetic faces is what makes cast parts paint-ready; a deliberate texture on the master becomes deliberate texture on every cast. Two rules keep it predictable: finish the master before approval, not after — the approved master is the surface contract — and state which faces are cosmetic so finishing effort lands where it is seen. If the cast parts will be painted anyway, say so; master finishing effort can then drop to what the paint will hide.
Scale, shrinkage and the drawing
Urethane shrinks slightly as it cures, and silicone molding has its own small movements — which is why masters are sometimes scaled up by a small, process-specific factor to land on the drawing after curing. The factor belongs to the supplier's process and material, not to this guide: state that dimensions are post-casting requirements, and let the supplier apply — and confirm — their scaling. What you should decide on your side is which dimensions are critical at all: the casting-tolerance world has its own rules, covered in the tolerances guide, and marking them is what keeps the scaling conversation honest.
Geometry that decides mold life
The mold is soft and its life is counted in casts. Deep sharp features, knife-edge ribs and aggressive undercuts cut silicone on every demold; generous radii and soft transitions cast the same part and let the mold survive the batch. If the batch grew since the design review, re-check the geometry against the new quantity — a mold asked for fifty casts should be designed differently from one asked for ten. The design guidelines cover the part-side rules; this is the same review pointed at the mold's future.
Worked example (illustrative)
A curved dashboard trim cover: 25 cast units, cosmetic A-surface, one revised version expected.
- Master material — SLA for the curved body; the sealing ledge added as a fitted detail. Hybrid chosen.
- Finish — A-surface primed and sanded on the master; texture stated for the rear face. Finished before approval.
- Approval — customer signed off on the finished master, photographed, before the mold pour. Frozen.
- Scale — post-casting dimensions stated as critical; supplier applied and confirmed process scaling. Confirmed.
- Geometry — edges radiused after the quantity check; no knife edges into the silicone. Reviewed.
The mold came out of the master exactly once — because everything debatable was settled on the master, in the open, before silicone.
The master model checklist you can copy
Before the silicone pour: [1] master material chosen — SLA, CNC or hybrid — per surface and accuracy needs; [2] cosmetic faces finished (primed, sanded, textured) to the agreed level; [3] customer approved and froze the finished master; [4] critical post-casting dimensions marked; scaling left to the supplier's confirmed process factor; [5] geometry re-checked against batch size for mold life; [6] one master per mold — revisions mean a new master and a new mold, never a retrofit.
Fill it per part — the checklist is what makes the master a contract.
Before quotes go out
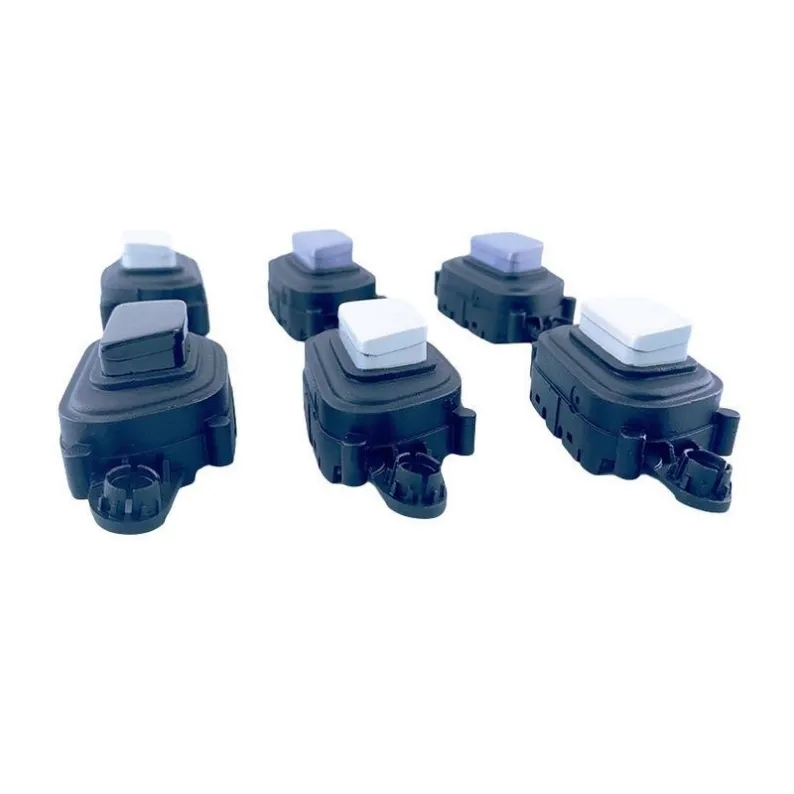
For the part-side design rules, the vacuum casting design guidelines; for what the cast dimensions can hold, the tolerances guide; and for the materials that will fill the mold, the vacuum casting comparison. The service behind the photos is on the vacuum casting parts page.
Record your master model review
Review item | Your entry |
|---|---|
Master material (SLA / CNC / hybrid) | |
Cosmetic faces and finish level | |
Customer approval and freeze date | |
Critical post-casting dimensions marked | |
Scaling: supplier factor confirmed | |
Geometry checked against batch size | |
One master per mold confirmed | |
One review, settled before the pour — that is how the master model becomes the strongest quality document in vacuum casting.